Van Livery: The Full Branding Journey

Whether you have a large commercial fleet or want to make your van and business stand out on the road, installing a unique van livery is a great way to get your brand out there. This blog explores our complete end-to-end livery process and how our experts can transform your van into a driving advertisement for you and your business.
Design & Production
Every great livery starts on the drawing board; ours are no different. Our in-house graphic design team specialises in vehicle wrapping and has a wealth of experience creating bespoke commercial wraps for fleets large and small. The only limit is your imagination!
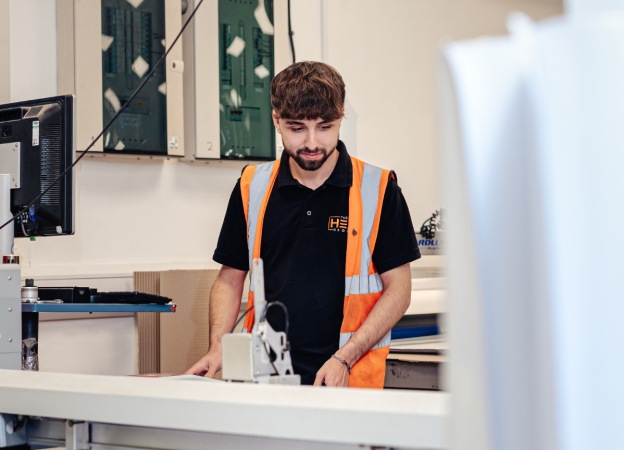
When a design is decided upon, the graphics head to production, where our team print all the vinyl and preps it for going on the van. With many materials available, you must carefully consider which is best for your van.
Decommission Old Livery
When a vehicle arrives on-site, it is often laden with an old livery that needs a freshen-up. As a result, the first task is to remove this old branding and prep the van for its new coat. Our expert team specialises in applying commercial graphics and removing them, ensuring the paint underneath or any delicate areas like windows and door handles aren't damaged.
Every film has a specific removal technique, requiring a unique set of skills for quick and easy removal. Using a combination of heat and elbow grease, any old stickers and reflective materials are removed by hand, leaving a blank canvas available for the new livery.
Clean & Prep
Making sure the application area is free from dirt, dust, and grease is very important. A vinyl graphic is only as good as the surface it is being applied to, and a clean surface ensures the perfect smooth application. Thankfully, our expert team has years of experience working on vans and knows the correct products and methods to make sure the surface is prepped for application. Our final inspection process ensures any hidden dirt and grease does not go unnoticed, giving you peace of mind that the van livery will stick seamlessly without bumps and bubbles.
Application
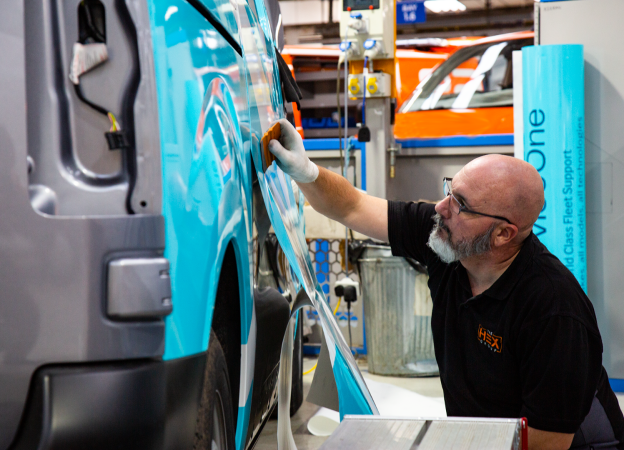
Finally, where the magic happens – application. Firstly, the vinyl must be positioned. This ensures everything on the design is lined up correctly and in the right place. Using masking tape and magnets to hold the graphics in place, the vinyl is peeled from its backing paper and using a squeegee or similar tool is adhered to the panel. Maintaining shallow strokes moving up and down the entire graphic from top to bottom is crucial. This allows for complete, smooth coverage and prevents creases and folds. This is repeated across the whole van until the final design reveals itself, fit for purpose for up to 8 years.
Interested in what we can do for you? Get in touch at www.hexgraphics.co.uk


